Steps for installation
Installing cleats can be a little fiddly, but you’ll find it really empowering to be able to do it for yourself!

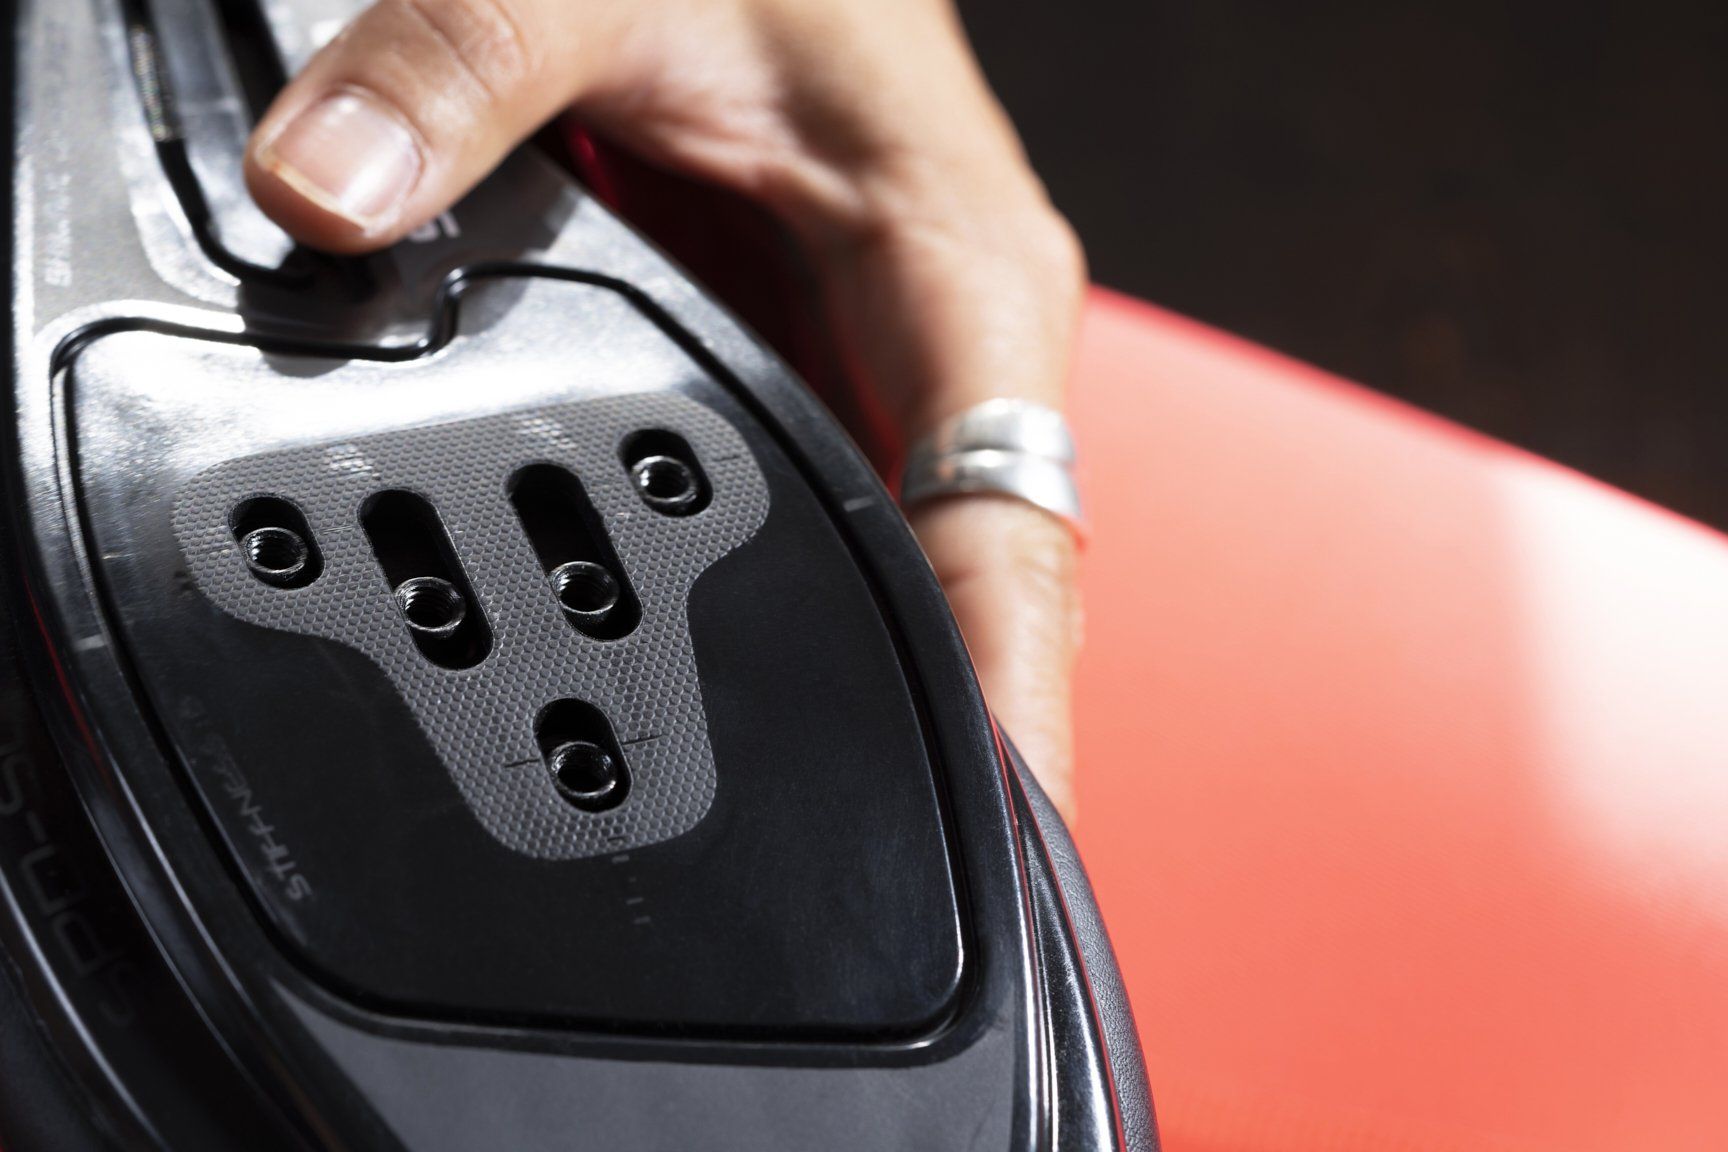
On the bottom of your SPD-SL / 3-hole cleat compatible cycling shoe, you’ll see three holes around one-third of the way down the shoe. This is where you will attach the cleat.
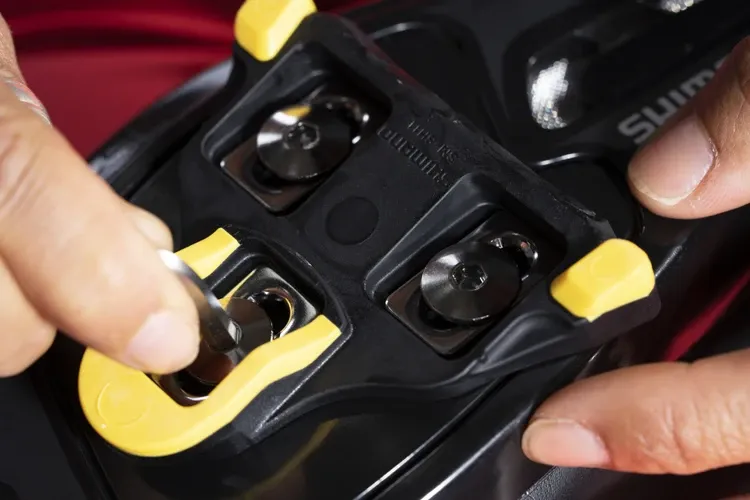
Place the cleat on the sole. The cleats are the same for both left and right shoes. You need to position the cleat so that the holes on the cleat are lined up with the three holes in the shoe.

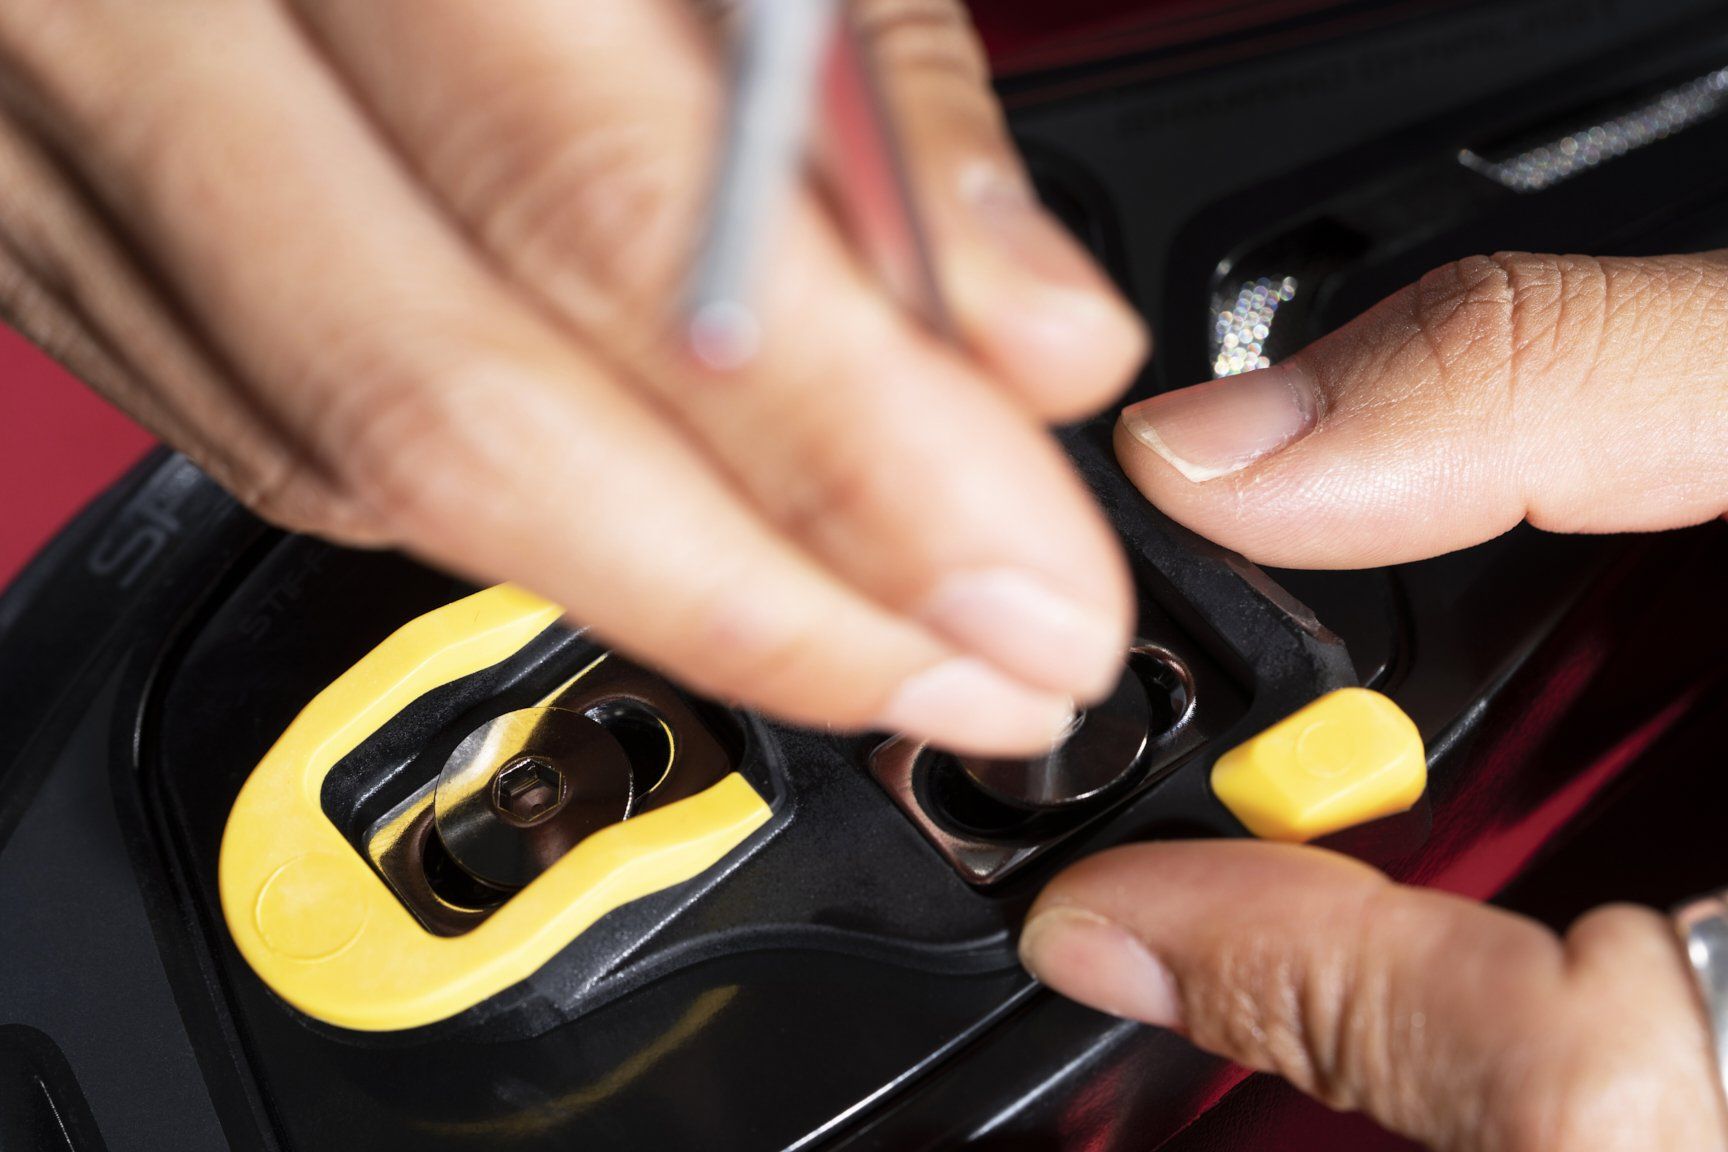
Position one cleat washer on each of the three holes, and put a cleat bolt in each hole. Use a 4 mm hexagon wrench to tighten the bolts.
Now that the cleats are attached to your shoes you will need to adjust your cleat position. You can adjust the cleat forward to back and right to left (you will need to loosen the bolts a little to make the adjustments). The best way to find your optimal position is to hop on your bike and do a few pedal strokes. You want to ensure that your knees are in line with your toes and that there’s no strain on your joints.
You may need to adjust the cleats left to right or front to back a few times before you find your perfect position. Once you’ve found it, use the 4 mm hexagon wrench to firmly tighten the bolts. You’ll want to make sure it’s tight so that the cleat doesn’t twist around when you try to clip out of your pedals.
A qualified bike fitter is the best way to be sure you’ve got the perfect cleat position. Your local bike shop or your indoor cycling instructor are good people to ask for help from as well.


